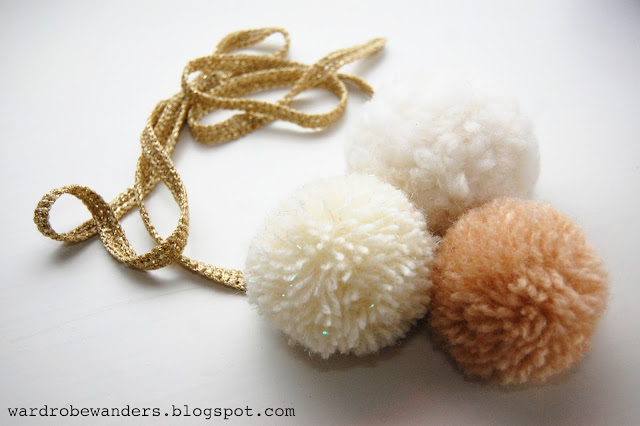
Finally ready! These have been on the making for a loooooong time. A necklace and a headband designs by me.

1. what you need: some leftover yarn, cardboard or thick paper, dividers
2. do two rounds, the size of the pompom will be approximately the larger diameter minus the smaller.

3. make a pair for one pompom (these have already slits cut, it's better to make those on stage 4.)
4. tape the pair together from two points (these have only one, believe me, it's easier with two). Note: it's easier if you cut the "slit" to the inner hole at this point.

5. start wrapping yarn around the form/sheets using the slit
6. make sure to wrap enough layers. Here's how much I did with thin yarn. Note: this is essential!

7. here's how much I did for a big gray one
8. after enough layers: you can either string the end of the yarn under the layers with a needle...

9. ...or string it between the sheets at the same time when cutting the edges. Place the scissors carefully between the sheets and cut.
10. almost ready pompom. Here you see the size in relation to the sheets. Make sure you have enough (=more yarn than this) to make a proper tight knot between the sheets by making a loop with the end of the yarn
 11. remove the form/sheets carefully and dishevel the pompom a bit
12. If you are crazy enough like me, start crocheting a ribbon for a necklace... You can also by one. :)
 13. And "the craziness" (aka what was suppose to be quick and easy, took a lot more time) continues: crochet backgrounds for the pompoms in order to be able to place them in the position you want
 14. A ready pompom headband. The sheets for this one were too big, I had to even it all around to make it a bit smaller. I had an old headband I sewed the pompom to.
 15. A ready pompom necklace. I'll wear it soon...
 11. remove the form/sheets carefully and dishevel the pompom a bit
12. If you are crazy enough like me, start crocheting a ribbon for a necklace... You can also by one. :)
 13. And "the craziness" (aka what was suppose to be quick and easy, took a lot more time) continues: crochet backgrounds for the pompoms in order to be able to place them in the position you want
 14. A ready pompom headband. The sheets for this one were too big, I had to even it all around to make it a bit smaller. I had an old headband I sewed the pompom to.
 15. A ready pompom necklace. I'll wear it soon...
5 comments:
nice DIY:) love it!
this is amazing! can't wait to try it xx.
adorable! i had totally forgotten that how you make pom poms! loving your blog i'm a new follower :)
x
I adore the pom pom necklace so so cute <3
http://cupcakesandtreacle.blogspot.com/
its so beautiful! love your ideas!
xoxo
http://in-hype.blogspot.com/
Post a Comment